A step-by-step guide to Create a listing on Amazon seller central.
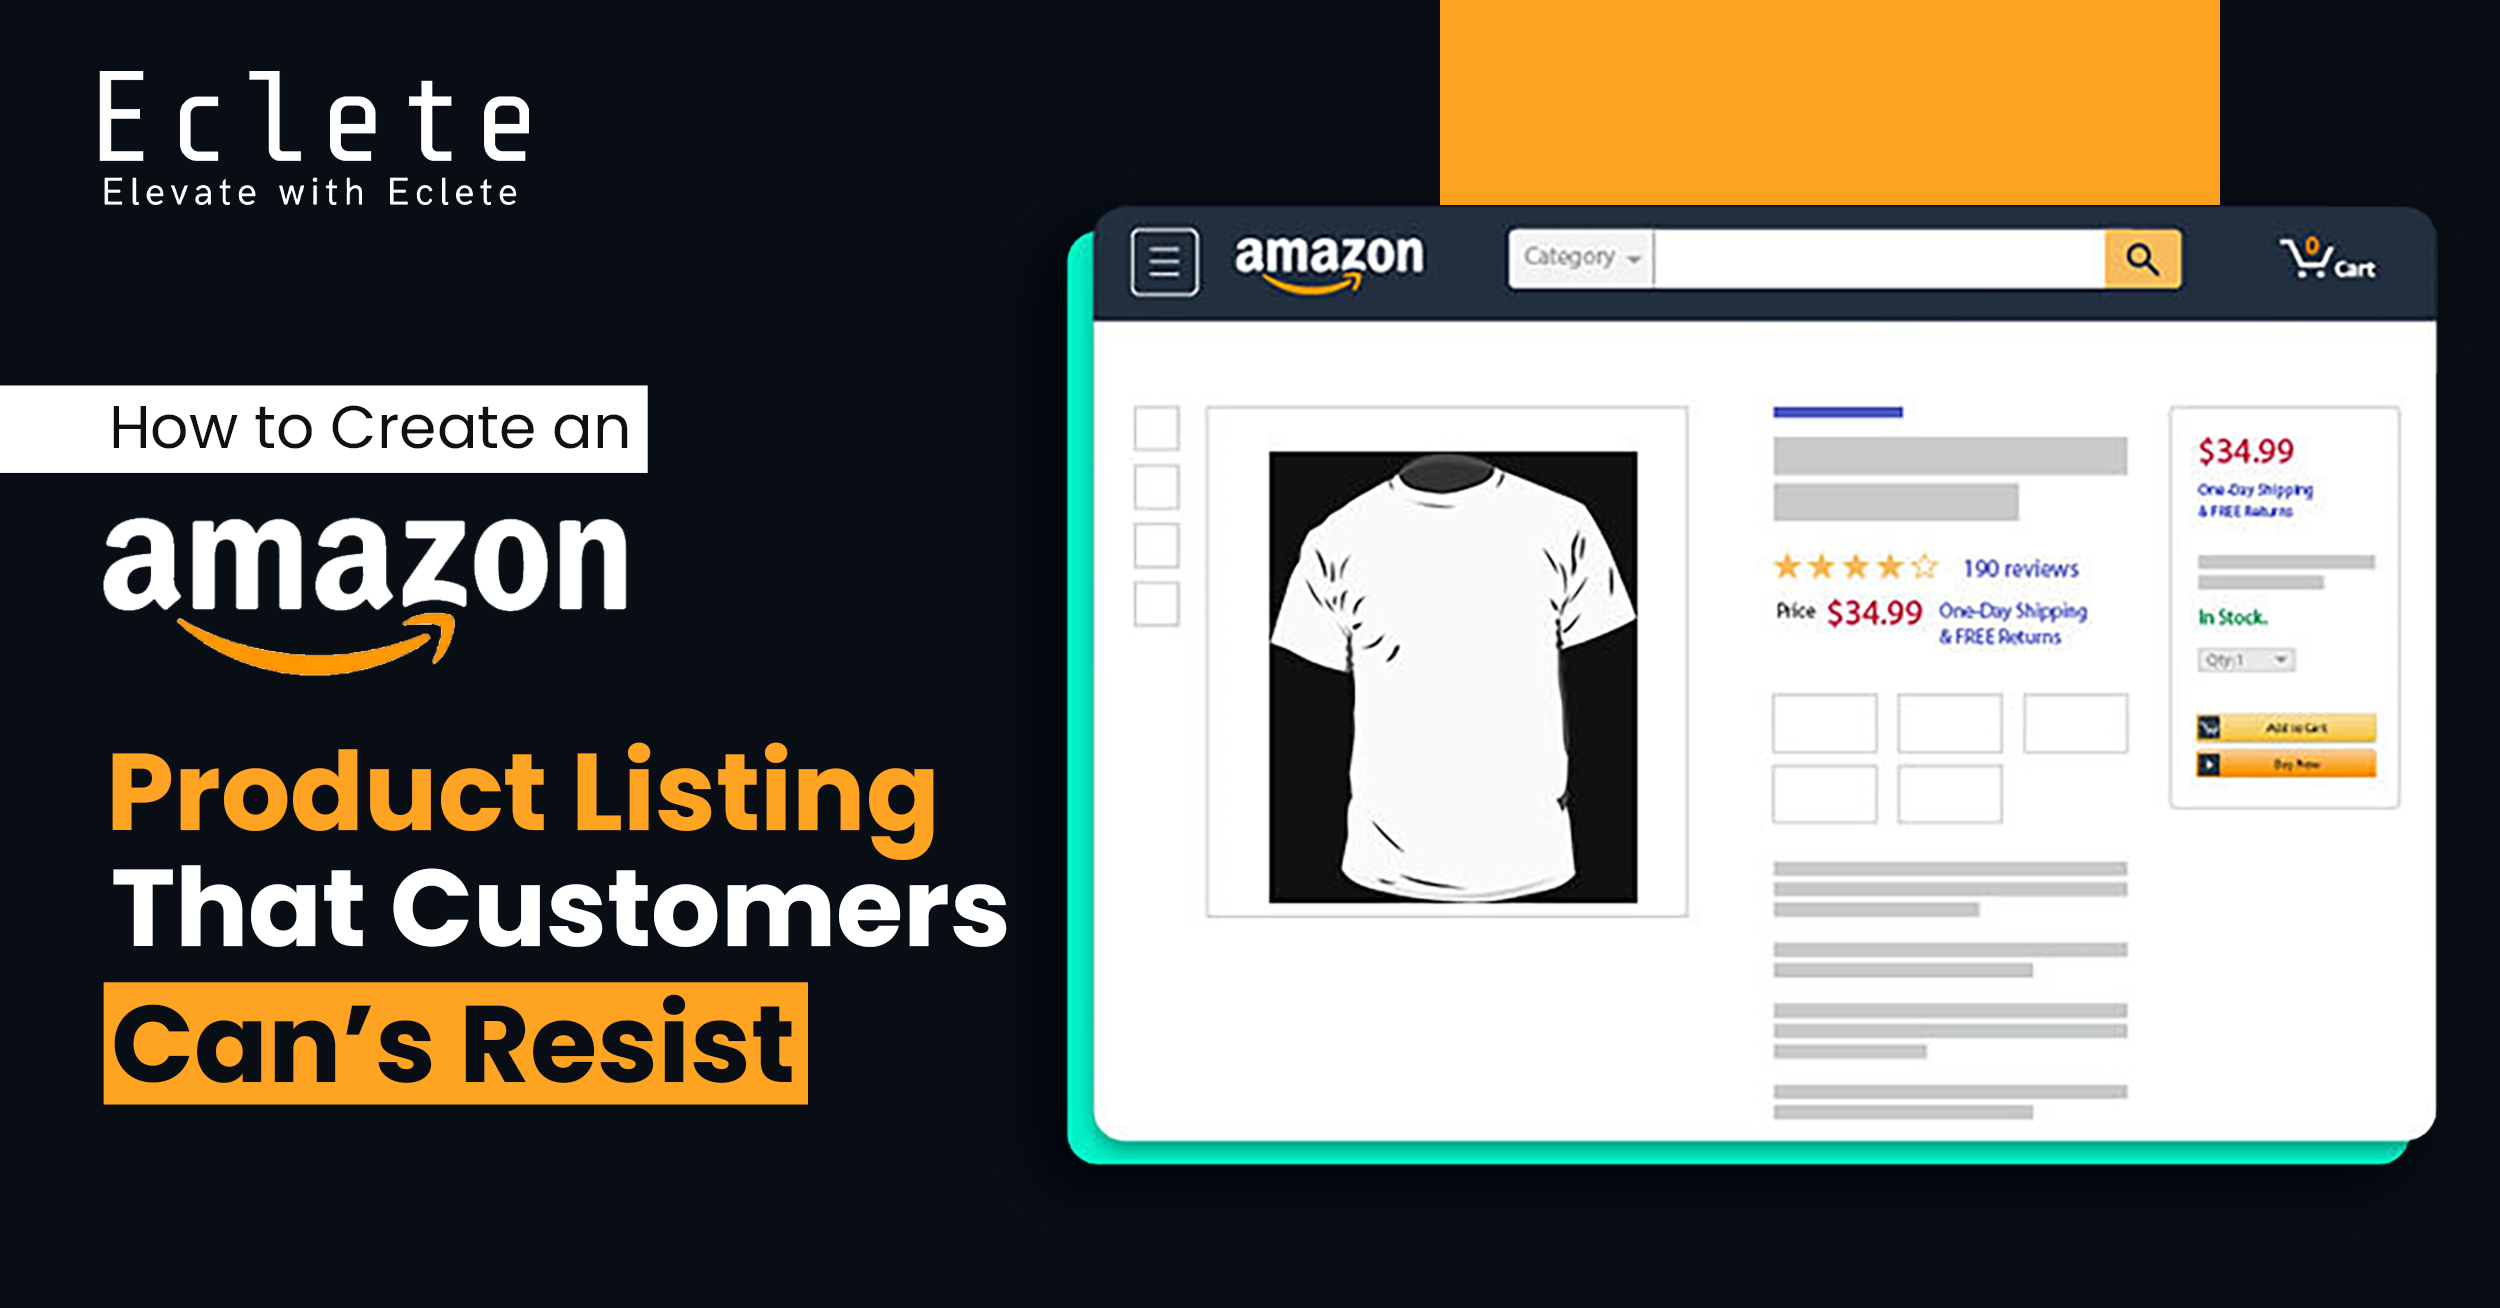
What is Amazon Listing: An Amazon Listing is the detail page on your product that you want to sell on Amazon. It includes all the information that you have given during your listing creation like Images,Bullets points and Title etc. Why listing is important:
An Amazon listing is very important because it allows you to find your product in Amazon searches. it also enables you to sell your product to Amazon customers.
How to Create Listing:
Step 1: First of all, this is the seller’s central dashborad. At the left corner, you will see the three dots, click on them.
Step 2: After clicking three dots, you will see the ‘catalog’ option at the left, click on that ‘catalog’ option.
Step 3: After clicking on catalog option, you will see the ‘Add product’ option at the top, click on that option
Step 4: After clicking the ‘Add Product’ option, you will see this page. After opening this page, you will see the three options below click on the first ‘ I’m adding a product not sold on Amazon’ option.
Step 5: After clicking the option, you will see this page, now start creating your listing on amazon. First of all, you will see the ‘Item name’ option. Now you can add your product name or title for your listing like cap,hat,shirts etc.
Step 6: After writing your product name or your title, you will see the option of the category of your product. You can check your category on amazon and fill this option according to your catagory.
Step 7: After selecting your product category, you will see the option of ‘Variation’ in Yes or No. If your product has variation, then choose the option yes and if your product has no variation then choose No.
Step 8: Next, you will see the option of ‘Brand Name’. If you have a brand name then enter it. If you don’t have a brand name then you will tick the option below.
Step 9: In the next option, you will see the ‘External Product ID’ option. Now you have to choose the UPC option and then fill this slot . After entering the UPC, then Amazon will allow you to click on ‘Next’ Button to go on the next page.
Step 10: On the other hand, if you don’t have UPC then select the ‘GTIN’ option and also tick the ‘I don’t have a Product ID’ and amazon will also allow you to click on ‘Next’ Button to go to the next page. If you don’t know about the ‘GTIN’ then click the provided link for better understanding about the ’GTIN’. Here is the link: https://eclete.com/amazon-gtin-eligibility/
Step 11: After coming to the next page, you will see the ‘Product Description’ and ‘ Bullet Point’ option. You can add your ‘Product Description’ and ‘Bullet point’ that you will write for your product. If you want to add more bullet points, then you will click the ‘Add More’ option and Amazon allows you to add some bullet points according to your category.
Step 12: At the bottom of this page, you will see the option of ‘Listing Images’ where you will add your product images to fulfill amazon product image requirements. If you don’t have the images then you must upload a main image of your product. Because amazon wants one main image for creating your listing on their detail page.If you have your product images, then you can upload only seven images because Amazon shows only seven images on their detail page.
Step 13: After uploading your product images, you will go to the next ‘Product Details’ page and give all your product details that Amazon wants to create your listing.First you will click on ‘All attributes’, option to proper see all the things.After this,you will give only those things that amazon requires. But if you have a special feature in your product,then you will also add other features that are in your product.Otherwise there is no need to enter the other things that amazon doesn’t want for your listing.
Step 14: After giving all the details of the product,you also must add ‘Generic Keywords’. These keywords are very helpful for our product because in this section, you can upload all those directly related high search volume keywords (Backend Search Term)that you have found through Keyword Research and it will also hlep to target those audiences who search with those keywords.
Step 15: After filling the ‘Product Detail’ Section, you can go to the next ‘Offer’ Page. In this page,first you will add your product quantity and then you will add your product price.
Step 16: In the ‘Offer’ page below, you will see the ‘Offering Release Date’ and ‘Merchant Release Date’ option. You will add this two days before your listing date to quickly update your listing.Additionally, you will see the option of list price.In this option, you have to add the same price that you have added on upper ‘Your Price’.
Step 17:At the bottom of this page, you will see the ‘Import Designation’ option and you will fill this page according to your product manufacturing. After this, you will also add the ‘Fulfillment Channel’ option and select your fulfillment.
Step 18: After Filling ‘Offer’ page, you will go to next ‘Safety & Compliance’ page and see the ‘Country/Region of Origin’ option and you have to add your marketplace
Step 19: After submitting all the details, you should double check that you gave all the things that amazon requires for creating listings. After checking all the things, click the submit option. After submitting, wait for a few minutes, amazon will upload your listing on their detail page after some time.